Domino lets you set different levels of default Environments:
-
A default Environment for the entire installation to establish a starting point for all new projects
-
A project Environment to meet specific package or IDE requirements
When you launch a Job or create a Workspace, Domino automatically populates the wizard with the Compute Environment from the project settings. Learn about the procedures you need to make this happen.
Set a default Environment to ensure every new project starts with a specific compute Environment:
-
Click Environments
-
Chose an Environment that has these attributes:
-
Global visibility
NoteYou can change an Environment’s visibility by editing the Environment definition if needed. -
Not currently the default Environment
-
-
Click the vertical ellipses.
-
Select Set as Default from the drop-down menu.
When you create a new Project, Domino sets the Compute Environment in the Project settings to the default Environment.
|
Note
| If the Set as Default menu item doesn’t appear, contact your administrator for assistance. |
Set or change the Project’s Compute Environment setting to override the global default Compute Environment for the installation with one that meets the specific needs of your Project:
-
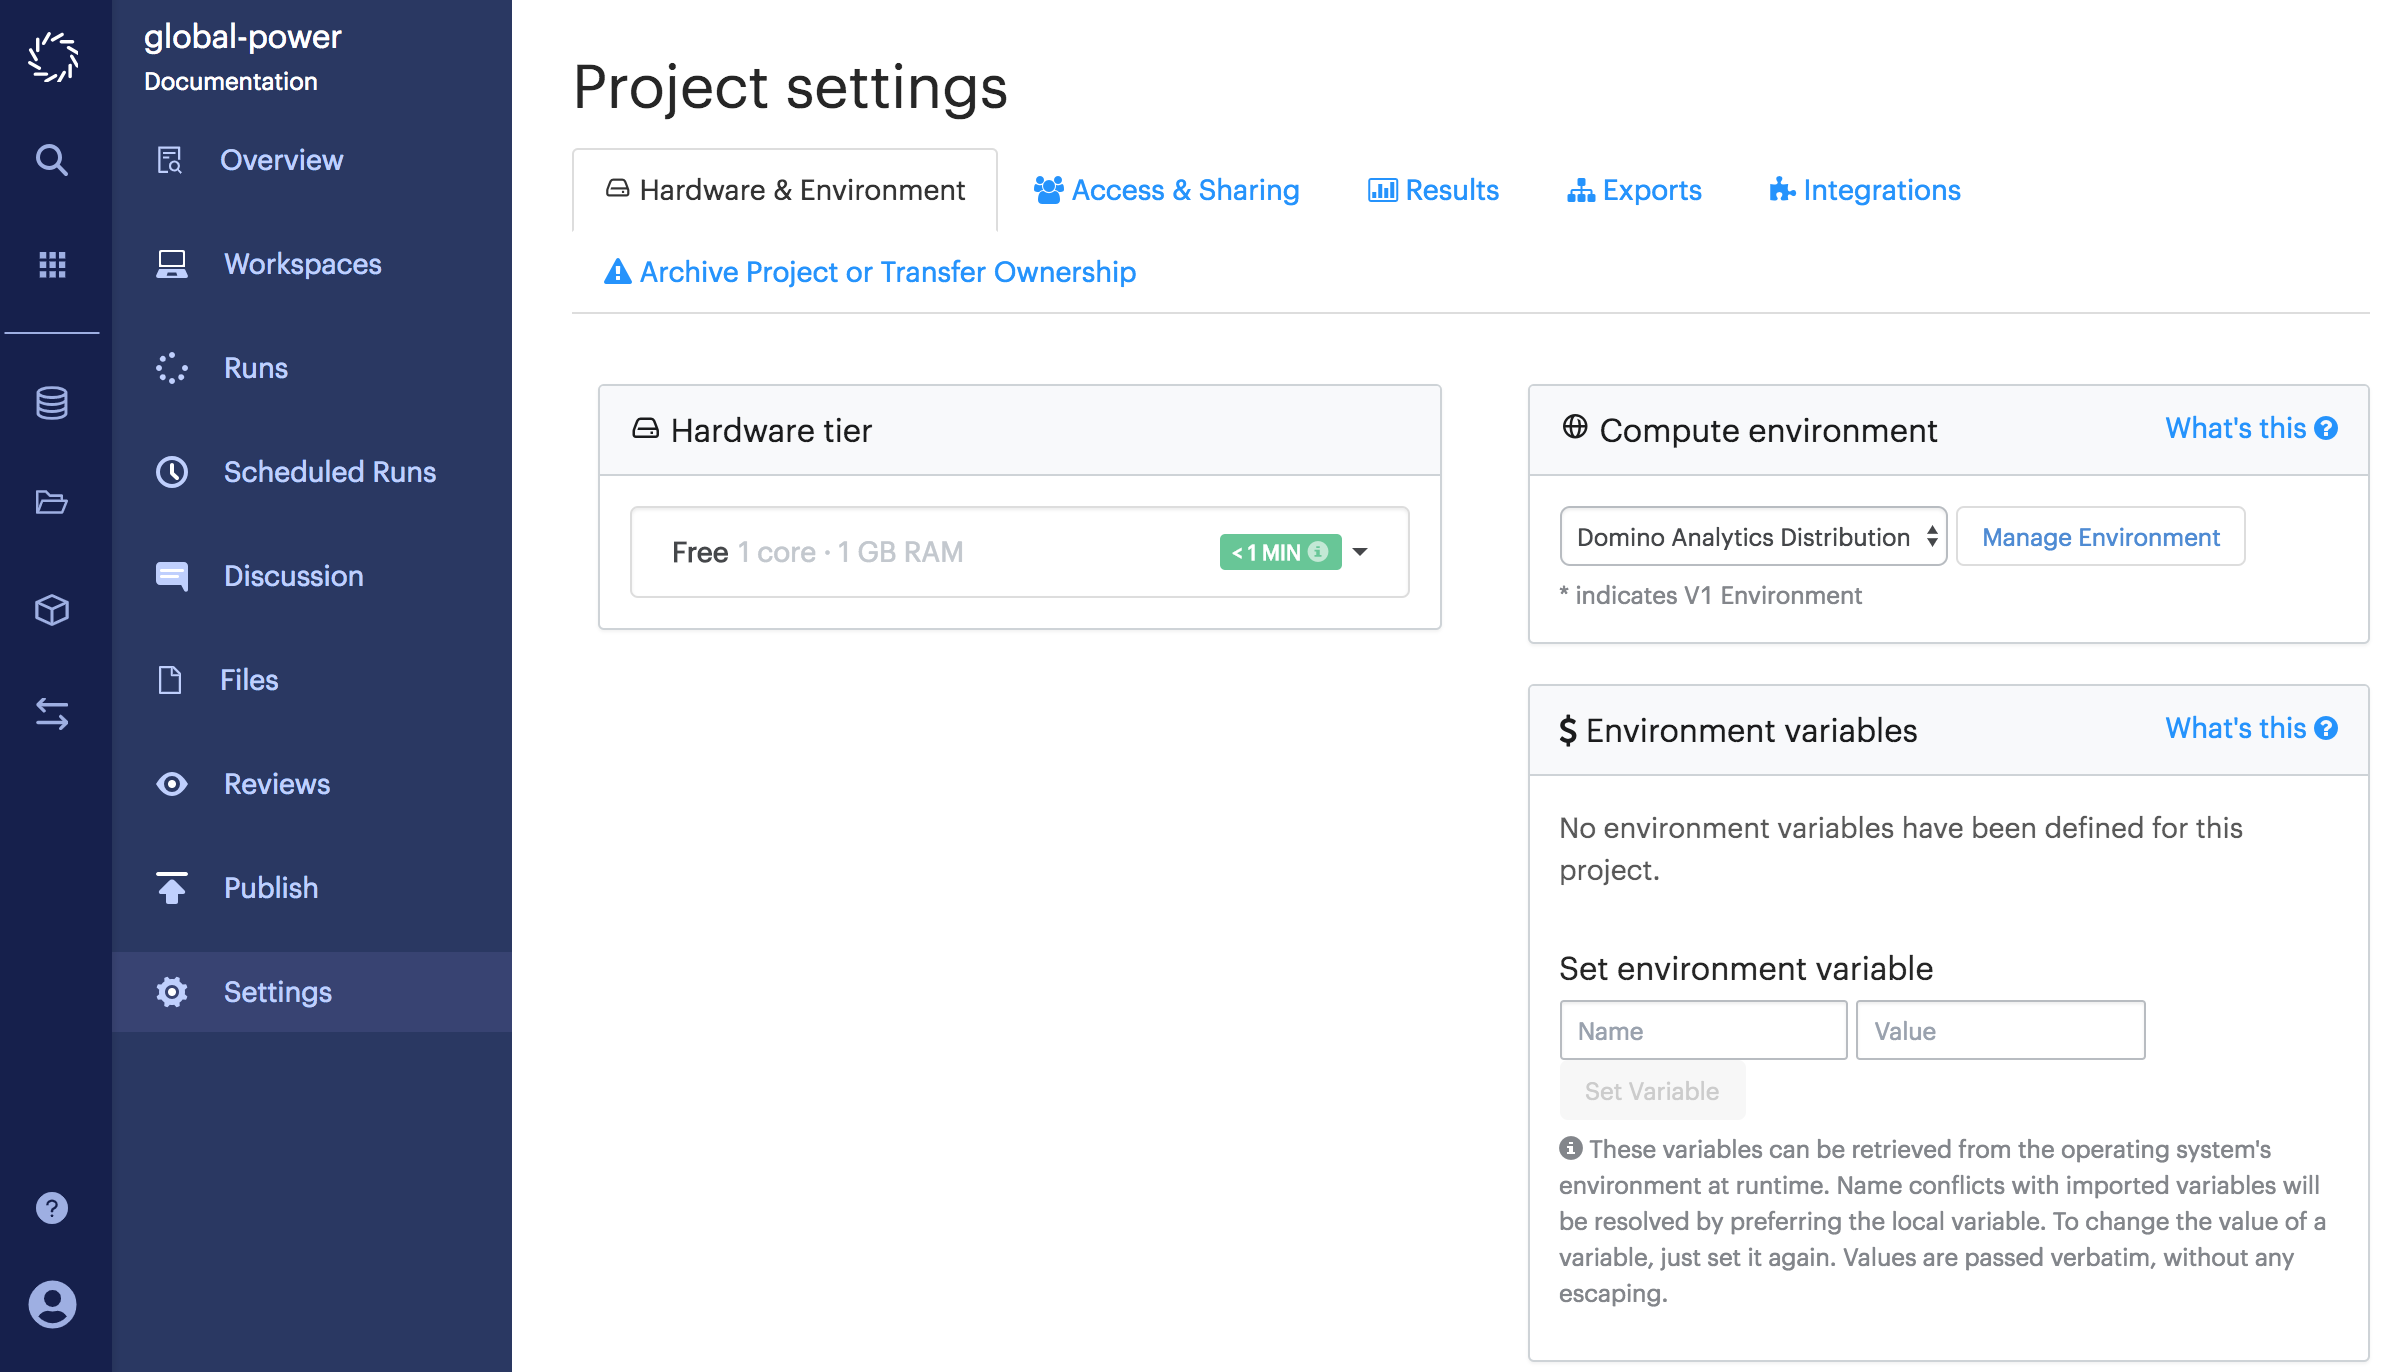
Go to the Project for which you want to set a default Environment.
-
In the navigation pane, click Settings.
-
From Compute Environment, select the Environment.
-
Click Manage Environment to see your Environment’s details.